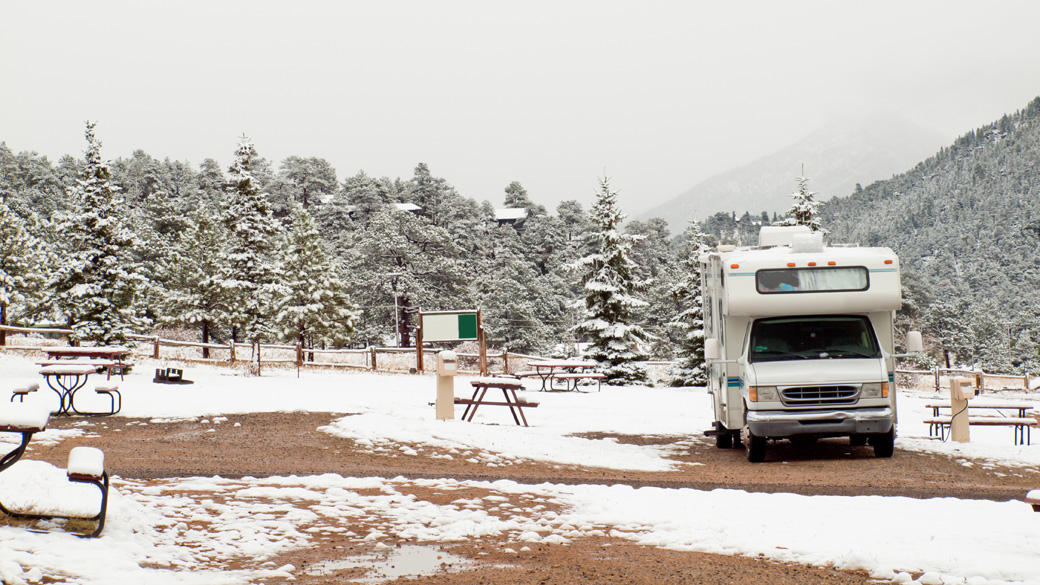
RV campsite in snow at Estes park, Colorado.
Winter’s hard on all of us, but it can be particularly hard on RVs, including new and used motorhomes. With lots of plumbing and areas for water and moisture to hide, winterizing your RV is a critical step in saving yourself a lot of expensive fixes once things start to thaw in the spring.
In the video above, we list a step-by-step walkthrough of the winterization process. If it feels overwhelming, don’t fret! The trained service technicians at your local Camping World can winterize your RV for you. However, if you want to take on the process yourself, follow along with our step-by-step process. We break down the details of the video in 8 easy steps below.
Please note every RV is different, from fifth wheels to travel trailers and every class in between, and some may have additional items that are harder to winterize, such as icemakers and refrigerators or dishwashers, but our guide covers the basics. Let’s dive in!
Tools Needed Before You Begin
For proper winterization, you’ll need the following tools and supplies:
- cordless power drill with #2 square tip driver bit
- socket wrench and 1-1/16″ socket
- flashlight
- new anode rod or plastic plug
- 3-4 gallons of antifreeze (a little extra never hurts)
- 2 crescent wrenches or a set of open-end wrenches
- siphoning kit (if the pump is not already equipped)
- water heater bypass kit (if not already equipped)
- needle nose pliers or a screwdriver
Steps To Winterize Your RV

RV campsite in snow at Estes park, Colorado.
If you follow all of the steps as outlined, your RV will be as ready as it can be for winter storage. A properly winterized RV means less headache and stress when spring comes around again.
- Drain and Flush the Black and Gray Water Tanks
It’s extremely important to not let wastewater sit in your RV all winter long. Not only can those tanks be a breeding ground for all kinds of bacteria, but the water can also freeze and cause issues. Drain both, starting with the black water tank and then the gray water tank. Once both are drained, clean the black tank with a special black tank cleaner or a cleaning wand.
- Drain and Flush the Water Heater
You’ll also need to get the water out of your water heater. This means you need to turn it off and let it cool down, and not be under pressure. Hook up city water to your RV with the water turned off. From there, you can use your socket wrench to remove the drain plug or anode rod and open the pressure relief valve.
This will let the water drain out. Don’t drain the water heater if it’s hot or has pressure built up. Wait until the temperature and pressure come down. Once drained, turn the water pressure on and flush out the sediment for 2-3 minutes. Remove the anode rod if old and leave it out during winter; make a note to install a new one in the spring.
- Bypass the Water Heater
Before adding anti-freeze to your RV, you need to make sure you bypass the water heater. You don’t want any antifreeze making its way into the water heater. Some RVs will have a bypass already installed.
To find the water heater, locate where the water heater service door is on the RV’s exterior and line that up with where it feeds inside. More often than not, there’s an access panel inside that you will need to remove. Using your drill and square tip driver bit, remove the panel to access the valves and adjust them to properly bypass the water heater.
- Drain the Fresh Tank and Low Point Drains
Be sure the water pressure is off before removing the plug and draining the freshwater tank. It’s a good idea to open the faucets to help facilitate flow. When finished, close all the faucets and plug the low-point drains.
- Locate the Water Pump
Attach the siphoning kit, or if your RV is equipped, locate the siphoning hose and place it inside your gallon of antifreeze. Open the valve. Turn on the water pump to allow the antifreeze to start flowing through the water system.
- Open External Faucets and Valves on the Outside of the RV
Beginning with the lowest valve and working your way up, open low-point drains valves or loosen the low-point drain plugs to allow water to run out. Do so until the water turns pink (this is the antifreeze making its way thoroughly through the pipes), then close the valves or retighten the plugs. Turn on any outside showers or exterior faucets, running one side (hot or cold) until it runs pink, then close it and run the other.
- Open Internal Faucets, Showers, and Toilets
Repeating the process from step six, run the faucets inside (kitchen, bathroom, and showers), starting with one side until it runs pink, then closing it and running the other side. Then do the same thing for all toilets until you see the antifreeze.
- Pour Antifreeze Down P-Traps
After that, you should pour some additional antifreeze down the drain of each sink, shower, and toilet in the RV to ensure the exterior termination pipes don’t freeze over winter. With all that done, you should double-check that the water heater’s heating element is turned off and all faucets are closed.
Get Help With RV Winterization If You Need It

Doing it yourself can be rewarding, but paying professionals to handle your home on wheels is never a bad idea. So, if the steps above sound too complicated, or they’re just not something you want to do this season, no worries–pay a professional.
For other winterization tips and tricks, check out your RV’s owner’s manual. It’s common for different classes of RVs, such as Happier Camper, and different appliances to have additional needs before you can properly store your RV for the winter. After all, a successful winterization leads to a successful spring when RV season rolls around again.


 Facebook
 X
X
 Pinterest
 Copy Link


